Foundation in Design (2013)

By Tang An-Gie


Tuesday, October 22, 2013

References (Book)

We were asking to find some idea from the book that we borrow from the library. 

Therefore, we will not just get all the examples from the internet. 

Before we make our own monogram, we should find some different ideas from 
other sources. 
Books are very helpful to us too. 

I found a book from the library which I found there was a lot of interesting pictures inside that book. 


First, I found this in the book.
This is the 2 mushrooms inside the black space.
This was the design from the Frost Design Australia.
With the presence of the 2 mushrooms make this negative space.
Therefore, make the design look cute and special. 
The presence of the 2 mushrooms form a alphabet which is M. 
Beside the alphabet M, the 2 mushrooms also form 2 alphabets "A". 
The 2 mushrooms able to make a big change to this black space.
I learn the concept from this book
which is the simple way to make thing look
special and nice.


The second picture that i found interesting 
was this!
All the lines is in sequence.
The special design of this one was the change of the line`s thickness.
Some lines get closer and some was further apart. 
This created the rhythms between the lines. 
This was more complex by the change of colour which is black and pink.
I really like this picture.
Therefore, i make a decision which
put this concept to make my
MONOGRAM! 
=)

I will combine the monogram design with the idea of the lines.


Sunday, October 13, 2013

My Own Monograms! (Major Assignment)

We were giving an assignment which is our major assignment - Monograms!
We can make our own monograms and print in to any object. For example, we can print our monograms on T-shirt, mugs or bags .


Example of Monograms


I have some ideas about how to design my own monograms.
I use my name to do my Monograms
which is TAG (Tang An-Gie) .


Sunday, October 6, 2013

My Square

Last week, we are giving a new assignment which is a "square"!
We are going to make our own square with cutting them out with a colour paper.
What is my square??


I do some research before i start to think what is me square look like.
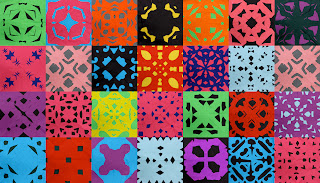
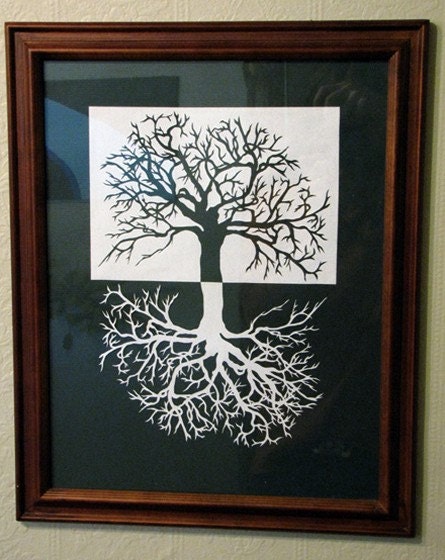
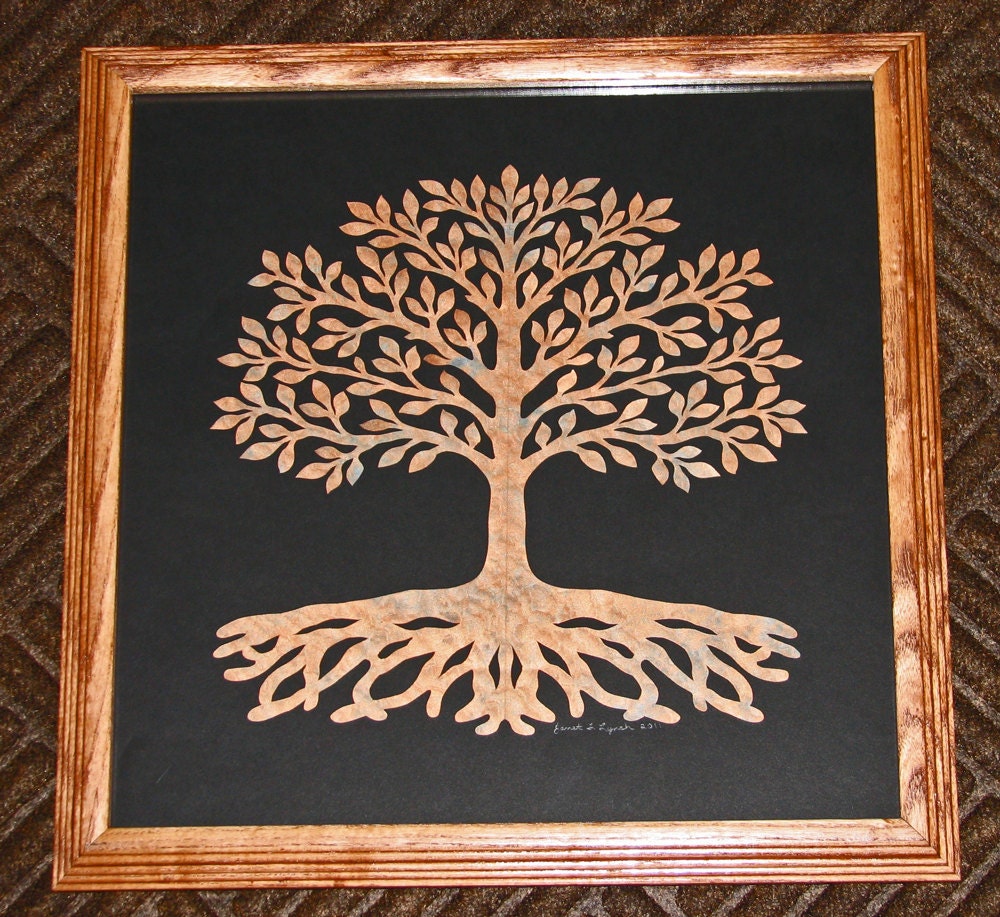
These are some examples of paper cutting of the square.
When every things combine will form a square.


After i saw this picture, I have a idea of design my Square.
I wanted to make my square with a reflection of a tree.
When the shadow of the tree combine to the up one,
this will make a complete square.
  
 
I love Music!
I hope i can make a music tree!
So i decided to make me music square~

I found some music notes to make the tree`s leaves.


First, I try with a pink colour paper.
I draw my design on the paper and cut them out carefully.
I used the music notes to replace the leaves of the tree.


This is the root of the tree. 


                                               I pasted the tree on a A3 size mounting board.


This is the music notes!
Is really hard for me to cut them out.

Finally, I done the first trial of my Square! 
I will make the real square to present with other colour which is gold colour!


This is the 2nd design. 
I cut the keyboard out from the paper and paste it below the square
to make the reflection.


But this is just a try. I do not feel this design is nice, so I decided
to improve my design another time.


The actual design of my square.
This procedures is the same with above.

The tree look nicer with Gold colour!


Finally, the actual design is Done! 


The 2nd Actual design.
I have an idea to improve my design
which is added some invert design.


I draw them in the paper.
and cut them out carefully.

The hardest procedure is to cut the invert design.
This really take a lot of my times to arrange them 
and paste them.


                                                 This is my final design of my 2nd square!

My both Square!


Yesterday, We faced some problem which is the classroom was not able to use.
Therefore, we faced the challenges to exhibite
our work outside of the classroom.
We are design students!
We are creative~
We used some tables and chairs to arrange beside a corner and put our Squres there.


This is my work! I am so proud to put my work
there to share with others!