Foundation in Design (2013)

By Tang An-Gie


Sunday, September 29, 2013

We need more lanterns!

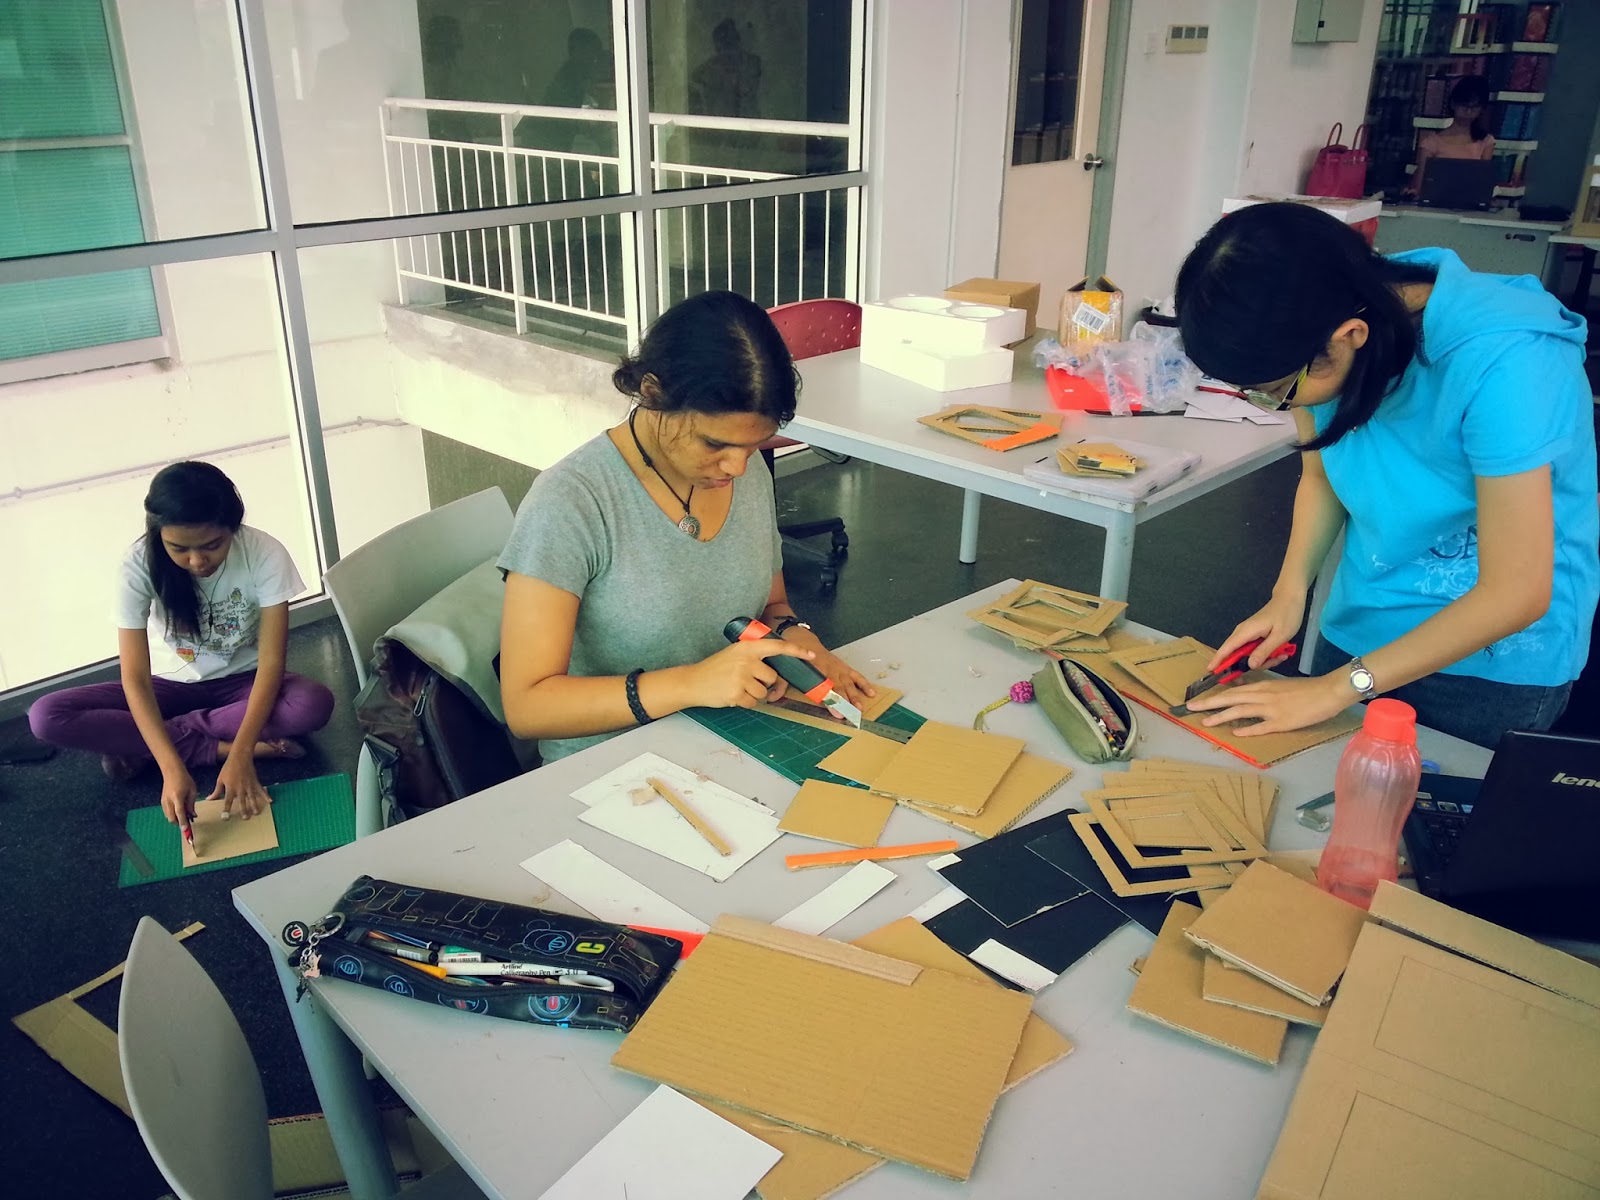
We continue our work..which is making more lanterns!
We spend 6hours a week to make more lanterns.
During the process, we are enjoying.
Measuring, cutting, sticking... done!
Everyone repearing the same procedures.  We love to make lanterns!


This is me!
Cutting the lanterns!


My team mates! 


Work hard, play hard!
We love to work together!♥


During i cutting the lanterns, i started to miss our firsr semester POD 2nd assignments~ 
Thanks Jamie be my object. :) 


Lanterns

We are planning to use all the boxes and waste materials to make our floating
lanterns which can help us to save costs and recycle all the waste materials.

After we collected all the boxes. We started to make the lanterns with different sizes.
We divede into 2 groups which is measure group and cutting group.

They are measuring the llanterns. 


                                                   I tried to make the medium size lanterns.


After I cut them out I try to stick them and to make them look balance.

Cleanings the corner of the classroom therfore the class look clean. 


Stencils and lanterns.

After everyone cutting out the patterns of their stencils,
we decided to colour them with some ink or marker pens therefore we
can see the designs before we spray them to the lanterns.


                                       This is my stencils designs which is the lotus flowers


These arw all the stencils others have made. 


Before we make the lanterns, we collect all the waste materials that 
still can be used from other art studio. 


Canvas design and Stencil

We have divided into some group to do this floating exhibition.

We have decided to use the Merdeka theme to make this gaint exhibition.
We are focusing the colours of our Malaysia's flat which is red, white, yellow and blue.
We are also decided to use somw silver and gold colour too.

After some meetings, we are planning to make the canvas with this main colours.
We planned to make all the canvas with different designs.

I am in the white group! Is hard for me to design the white canvas.
But I have try my best to do it~


I use some newspaper to make the texture look nicer. After that colour the surface with white colour and some silver colour. 

We are asked for design some stencil for the floating latterns.
We devided into some group which is Chinese designs, malay designs, indian designs and khadazan designs. 
I am in the chinese designs group.  

This are some of my ideas and my team mate's ideas. 


For the stencils,


This is my design. 


BIg Project!

We are given a BIG PROJECT which have to try to break our  Book Record in Floating Exhibition in our university lakeside. Everyone is so excited to accept this big challenge.

We having some meetings after the 2nd class.

This exhibition will have during the Merdeka`s month.
Everyone came out with different themes.

There are 5 of the members in our class be the leaders which are Jean, Hidayah, Raymond, Nicholas and Jamie.

They came out with some proposals which is Jurrasic Park, Underwater world , solar system and garden.


During our meeting.
Everyone giving their comments and suggestions.


We have dicdiscussed about to make the exhibition look more special for using 
floating latterns on the lake. 
And different colours and sizes of canvas. 


These are all the proposals that we have made. 


Preparing proposals before present.


Monday, August 5, 2013

Self Potrait ( Semester 2)

Time passes so fast! I am in semester 2 Foundation in Design course now.  I can`t believe that I already step into the new semester. However, in the first day of  2 Dimensional Design, we are given an assignment which is SELF POTRAIT. I had done 1 of my self potrait during last semester. We are allow to get any materials  around the campus to do 2nd self potrait.


I had followed some friends to go find some materials beside the lakeside. Some of them found some flowers or rocks to represent themelves.  For me, is hard for me to find somethings around the campus to do my self potrait. Suddenly, I found a kind of fruits from a tree that found beside the lakeside. The small fruits look very special because the fruits that grow on the tree have different colour which are green , light green, light peach and red. After i plug the small little fruits from the tree, I have an idea to make them look nice and to represent my self potrait.

After that, I get a small tree bark to do my self potrait with sticking all the little fruits on it.


I arrange the friuts from green to red.
This is because I am growing from last semester until today.
I have learn a lot of new things that I did not know before through
all this semester 1.

This is the Green colour friuts!

 start from this layer, the colour of the friuits start to change to become red,
just like me, learning new things since this January ( semester 1 start)


                             I love the red colour friuts! The glue around the fruits look like
                                                                    the   waterdrop. And look so natural!
                                       

Friday, May 31, 2013

Final Assignments (Greeting Cards)

This is our final assignments which is greeting cards. Everyone has their own theme. My theme is Cookies! =)  I choose cookies to be my greeting card theme because " they look so cute" with different patterns and colours on the " cookies " which is just a paper. I make them look like cookies with the sharp colour and  spray them so that will look more "delicious". I made 5 greeting cards which is Birthday card, Halloween card, Baby , Wedding card and Christmas card too.


First, I draw them out on a water colour paper.


This is Christmas Cookies.
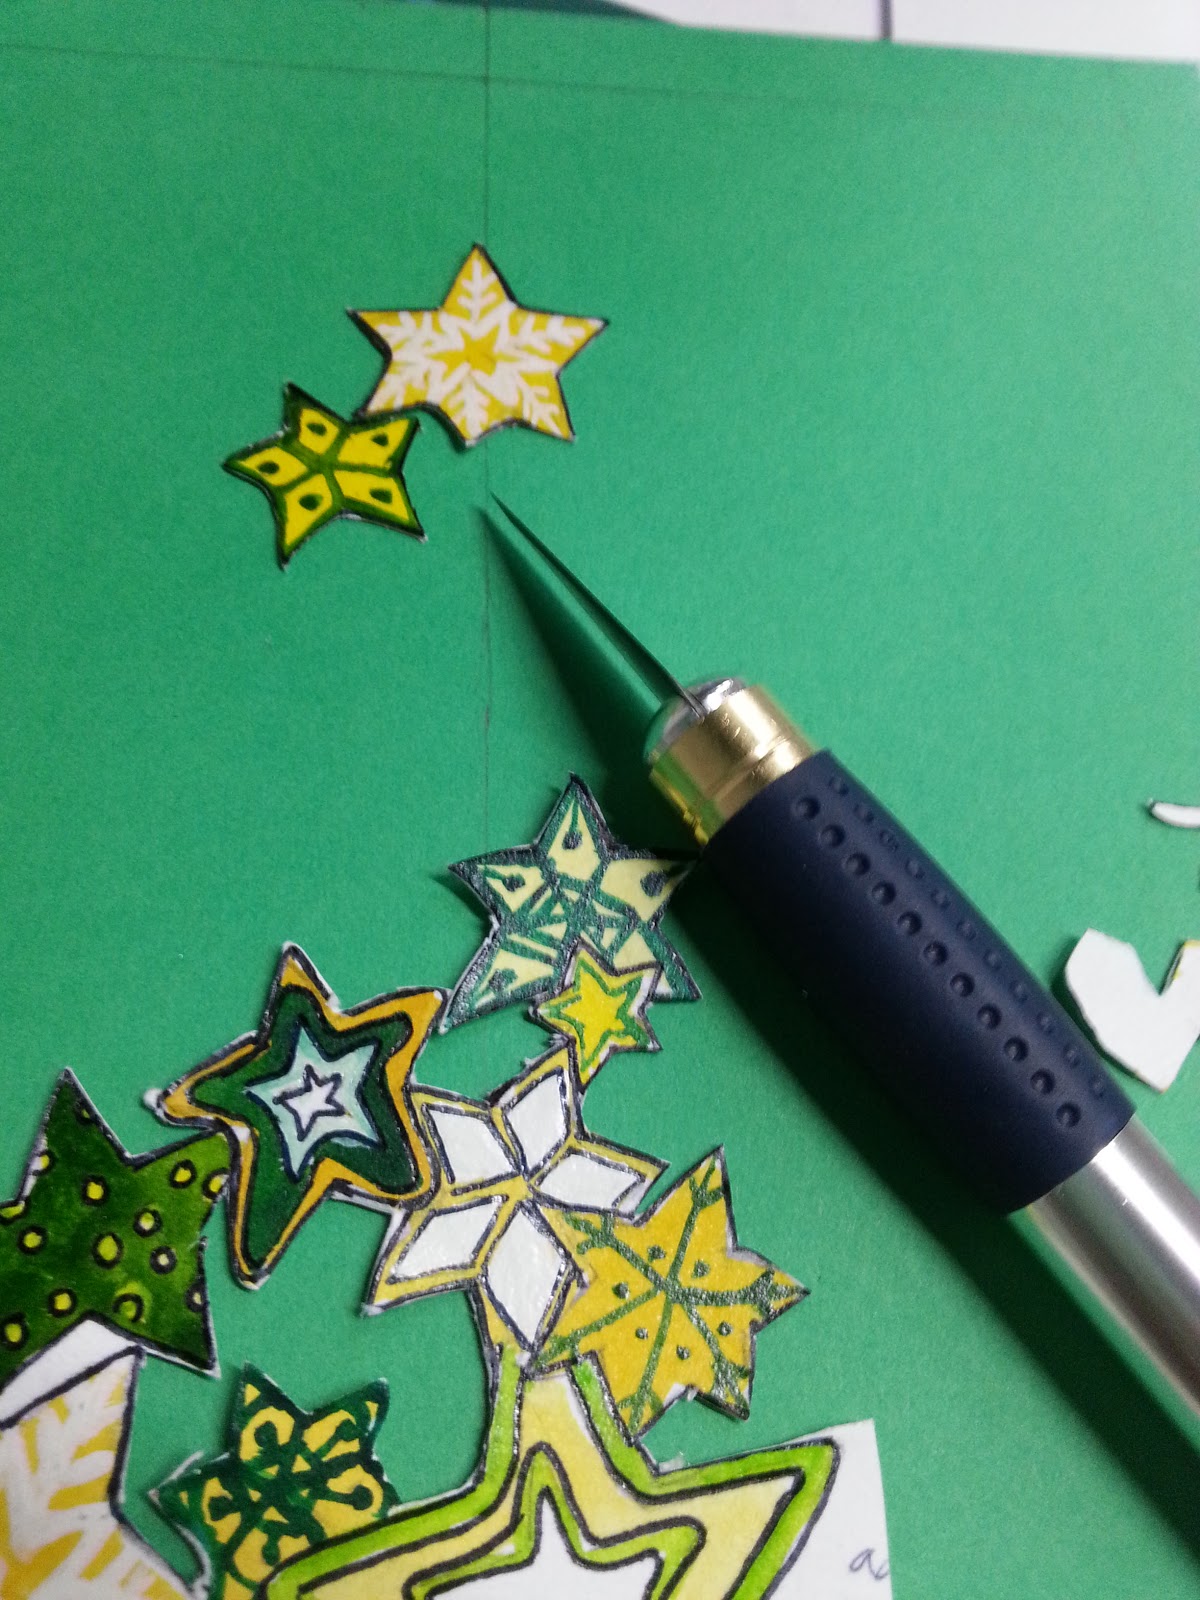
All the little stars cookies forming a Christmas Tree.


This is the Weeding Cookies.
"Cake" cookies, Love cookies and Car cookies!


This is Halloween Cookies! 
I love the "Eye" Cookies because it look so scary .


This is for the Baby Greeting Card Cookies!  They all look so Cute!


And the last Cookies is the Birthday Cookies!


After i draw them out, I started to colour the Base of the Cookies (Baked the cookies before make them look nice) !


After that i continue to add the colour on the cookies!
The first cookies i made is the Christmas Cookies. I try to made them look like a Christmas tree so I decided to use Green , White and Yellow colour on it. I will show all the procedures that i made all the cards.


First, I added white colour just like "white chocolate" on the cookies.


Next, I added light grren and other green colour on it.
 Let the cookies look different from each others.


Finally, Finish colour all the Christmas Cookies! =D  


This Christmas Cookies look more "delicious" after i had draw all the outline.


I choose the green colour paper to made this card.  After that, I started to cut them out one by one.

After i cut them out and i paste them on a red colour paper and stick it on the Green
colour card.


                                           Outside of the card look like that. Although the Cookies is
                                         inside the card, outside the card i made a triangle hole so that can
                                                              still see it from outside the card.             


Finally, Everything is done!
This is the Christmas Greeting Card.
 
                                                             I made my own envelope.
                                                                   This envelope look more special than
                                                                          the other envelopes that can buy from
                                                                              any shops.


The Next Card is The Halloween Card!
After colour the base of the cookies, i started to colour the whole cookies
with sharp colour.


After the colour dry, i started to draw the outline on it.
I love the "Eye" cookies because look so scary and suit to the theme.


Paste them on the greeting card.
I using balck and orange colour paper to made this card.
And there are some red colour paper.
This is the inside of the card.


This is the front look of the card.


The envelope i choose the same colour with the greeting card.
All the envelopes i made myself. =)


                                              Finally, I done the Halloween Greeting Card!


The third card that i made is the Baby Greeting Card!
This card is the card i like the most!
The card really look very cute!
And i made the card in blue colour is because this card is for
Baby Boy!


                                               After i colour on it, 6 of them really look like cookies!


                                          After the water colour dry, i draw all the outline on it.


                                  I choose the white and blue colour paper to make this greeting card


I added some different blue colour paper on the card so that
the card look more pretty.


The front of the card look like this!
The little cookies look so CUTE!


Inside of the card look like This! =)


Finally, I have done the Baby Greeting card!
The colour that i choose for the envelope is same
with the card which is Blue, White and lttle bit of Black ribbon.


 The Fourth Greeting Card that I made is The wedding greeting card!
The most time that i spend to make this all cards is this wedding card
because the shape of the card and i make the paper cutting
on this card.


                                                  I colour them with water colour and after it
                                                   dry, i draw the outline on all the Cookies.


                                           The do the paper cutting of the Love Bird and will
                                                        placed them on top of  the card.


                                                  The cut the white paper with the love shape
                                                   and the Love Birds paper cutting is stick
                                                   on top of the cut and surrounded by
                                                   the purple colour paper.


I stick the wedding cookies on the front of the Card.


Finally, The wedding card had done!
I made the envelope look simple which is just
2 Love on the side of the envelope.


Inside of the card look like this! =)

The simple White Envelope.


The Last Card that i had made is the Birthday Card.


 The same step like the cards before which is colour
and draw the outline on all the cookies.


The front of the card look like this. I using Dark blue, Blue
, Black and some Sliver colour paperto make this card.
                                              

                                         Finally, The birthday had done! beside the card is the envelope.


                                                Inside of the card look simple and nice.
                                      [ Just wanted to wish you A Very Happy Birthday ]


                                          The envelope look like a Birthday Cake!


All five of my Greeting Cards!


I really learn a lot through all the process while doing the cards. I learn how to match
the colour of the card.
And how to cut out all the detials, for exampple...the Love Birds!
I really enjoy to do this all greeting card!